This guide will help you change the design, button text, fonts, alignment and various different sizing options of the continue and submit buttons in you form.
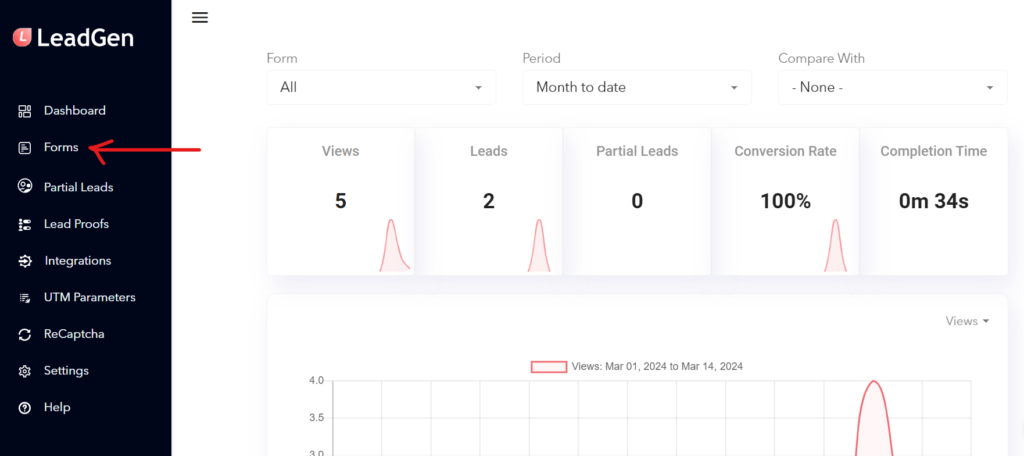
Firstly, go to “Forms” in the sidebar menu.
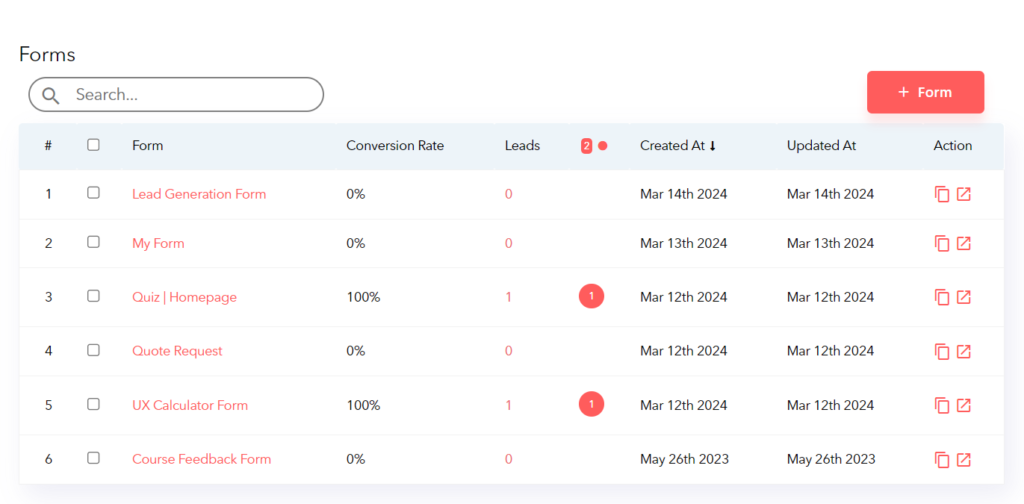
Click on the name of the form you want to modify.
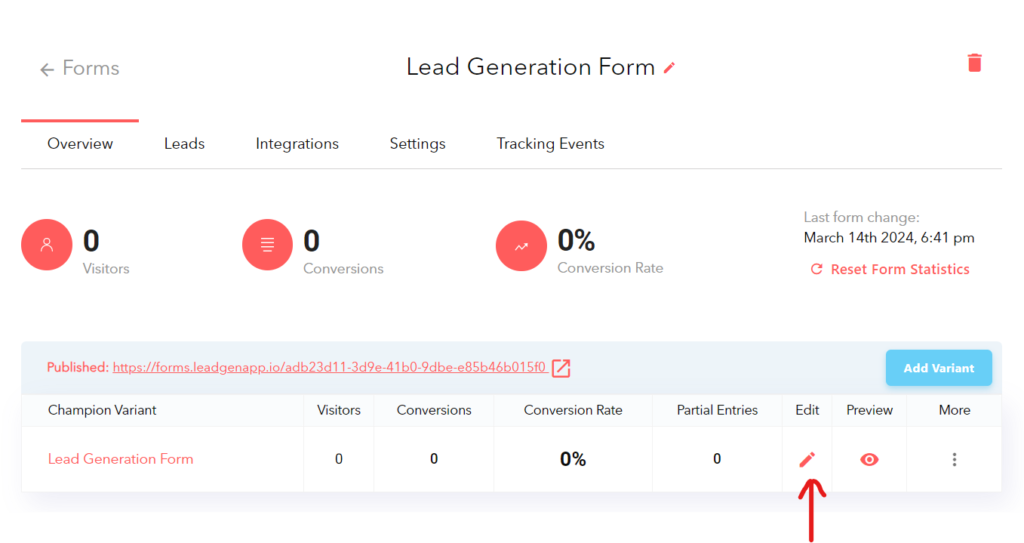
Click the edit button.
Click on “Design” in the header to access the form design editor.

Now, you will have two different options for customizing the button design, either by using a theme or by doing it yourself.
Firstly, let’s look into the quick and easy option of using themes.
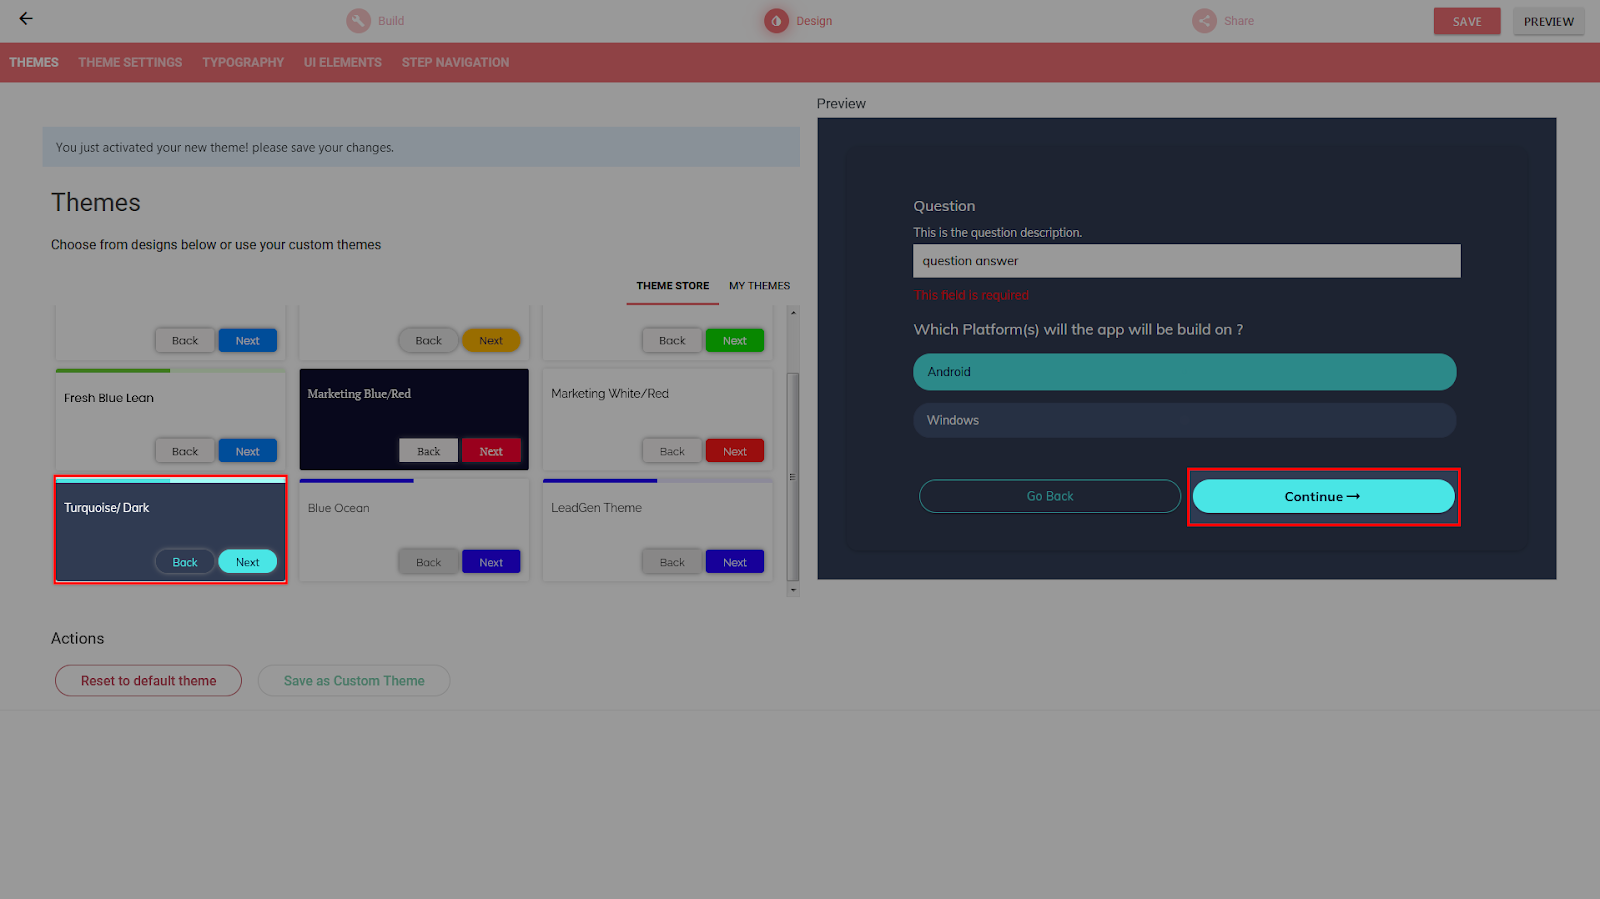
Based on the theme selected on the left, you will see the design of the “Continue” button in the bottom right corner in the preview window.
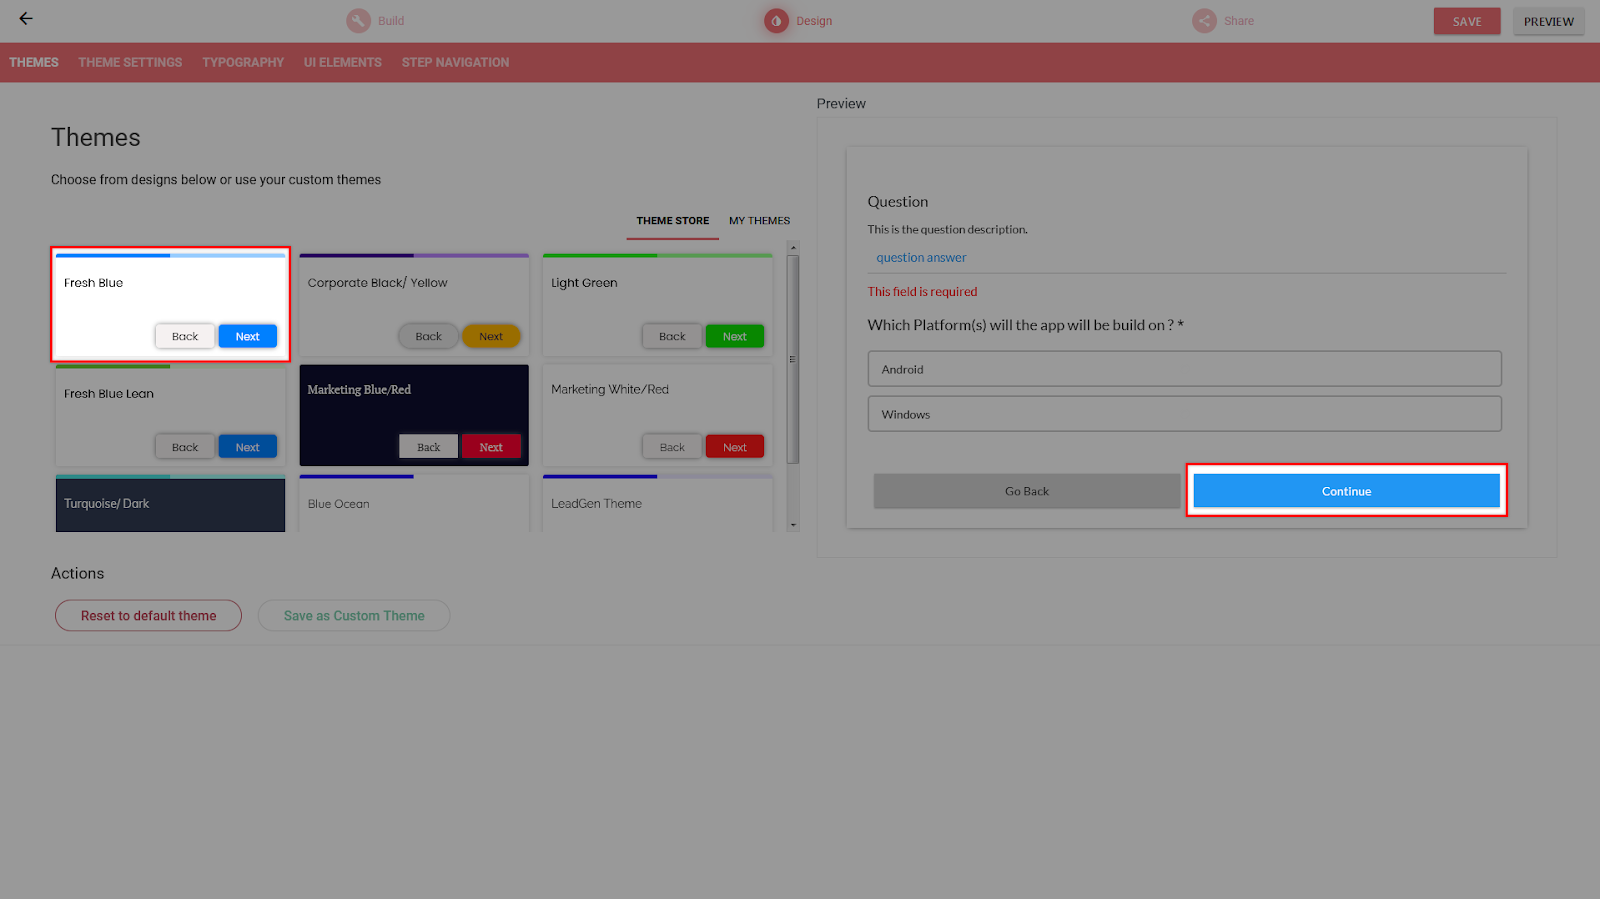
If you change the theme, the colors will automatically change and your form design is now updated in the style of theme.
You to the second option of manual design customization:
If you want to make specific changes to the existing theme, go to “Step Navigation”.
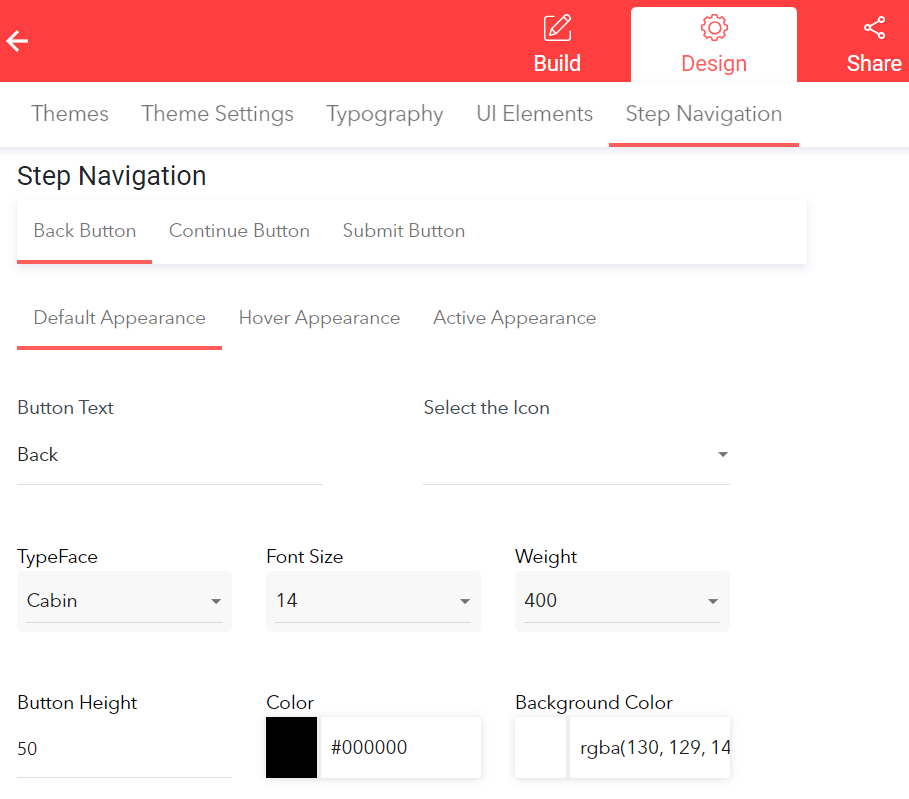
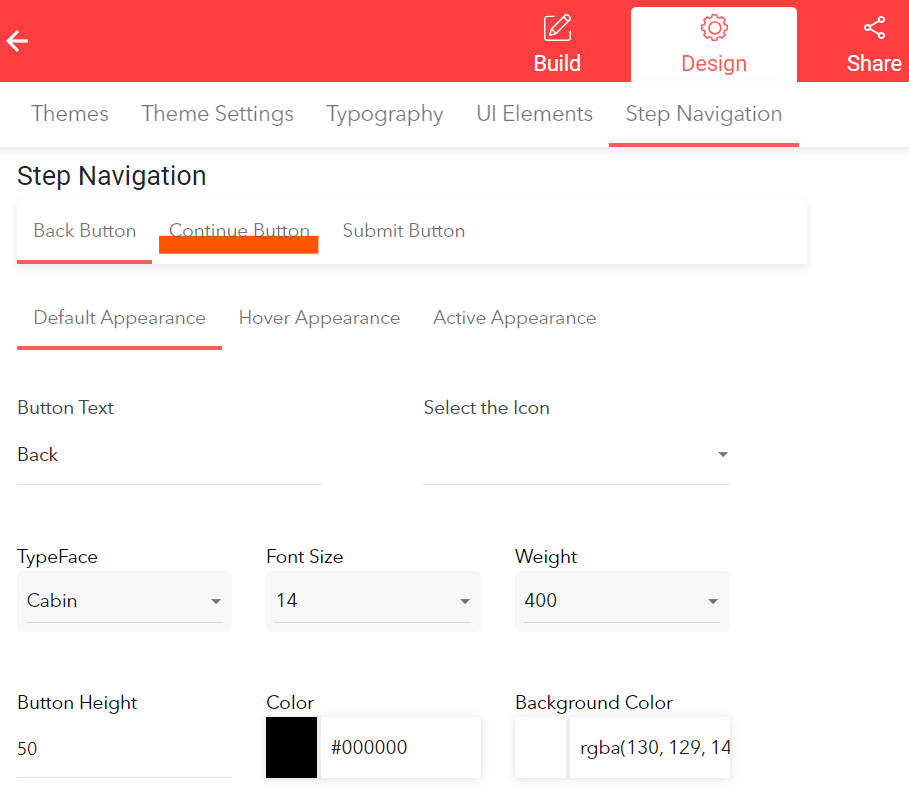
In the submenu, select “Continue BTN” to pull up the details for the button. You will see three sections – default, hover, and active appearance. These give you the possibility to have different designs for different states of the button.
Default: The button design before the user engages with the button
Hover: The button design when hovering/scrolling onto the button before the click
Active: The button design at the moment of clicking on the button
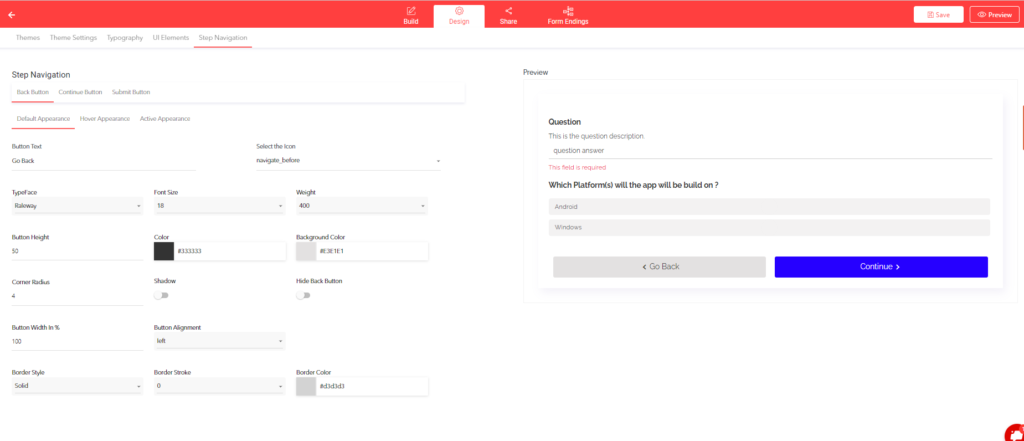
In the default tab, you can change a variety of design settings for the continue button, including the following:
1. Button text
2. Icon name
3. Type Face
4. Font Size
5. Background Color
6. Corner Radius
7. Shadow
8. Button Width
9. Button Alignment
10. Border Style
11. Border Stroke
12. Border Color
The similar options and settings are provided for the Submit button.
Change to “Submit BTN” and you will have the same options available. The difference between the two buttons is that “Continue BTN” will take you to the next step of the form (if applicable), and “Submit BTN” is the button that submits the information at the end of the form.
The continue button settings will change the design of every continue button in the multi-step form, while the submit is only used once in the form and can therefore be unique.